Are you about to start your first repair project with traditional kintsugi ? Well, you may want to read this article before opening your tube of urushi lacquer.
In this article, we would like to share some mistakes that we often see beginners make when they tackle their first kintsugi repair projects. Our hope is that this article helps you avoid making the same mistakes, or at the very least, catch them early. Let's get started, shall we !
Getting Started with Kintsugi Repair : How to Avoid Common Mistakes
At Tsugu Tsugu, we teach kintsugi repair in our studios everyday. Some students have prior experience with kintsugi, but most of our students are complete beginners. Lesson after lesson, we help our students get confident and adapt themselves to each new kintsugi repair. Traditional kintsugi repair requires a lot of practice but, with the right guidance and the right tools, even complete beginners can complete repair projects with success.
During our classes and in our kintsugi kits, we break down the repair process into 5 easy steps:
Step 1: Preparation
Step 2: Making Mugi-urushi
(Step 2A: Sticking the Broken Pieces Together)
(Step 2B: Filling the Deep Chips)
Step 3: Filling the Small Chips
Step 4: Applying a Layer of Black Urushi
Step 5: Application of the Finishing Layer with Gold Powder
Each step brings its own challenges and pitfalls. In the section below, we will cover the things you should NOT do if you want to obtain the best result when repairing an object you hold dear with kintsugi.
Step 1 - Preparation: Cleaning Poorly the Broken Pieces

If you have a broken bowl that is not clean, urushi lacquer will not adhere well and the repair may not hold at all or break again later. Making sure that the object you want to repair is clean is a prerequisite for a successful repair. This step is not to be skipped or rushed. Take you time and scrub off all the oil, dirt and residues !
Step 2 - Sticking the Broken Pieces Back Together: Forgetting to Use Masking Tape

Once you have put pieces together with mugi-urushi, it is very important to ensure that the pieces will not move while mugi-urushi hardens. For that, you need to put masking tape across the repaired joints so that everything fits tightly together. If you forget or skip on purpose this step, you run the risk of having the pieces come loose, which will impact the rest of the repair.
We are not exaggerating when we say that this step is crucial. It really is the key to the success of your repair. If you do not secure the pieces stuck together with masking tape, there is a high risk that, due to gravity, that they will slowly come apart and the surface of the object will then be uneven.
When mugi-urushi has hardened, it is near-impossible to fix it because mugi-urushi is very strong. Pieces unevenly stuck together will make the repair process more complicated and this will also have a direct impact on the final result of the repair. Although the unevenness may seem small at first, as you progress with the repair, it will become more and more obvious.
Once you have applied masking tape, it is also important to think of the position of the object in the urushi box and try to take advantage of gravity as much as possible. You should ideally place the pieces stuck together in a way that the joint is parallel to the ground and that gravity pushes the pieces further together. If you have more than a joint to consider, you should always think of the impact of gravity before placing it in your urushi box.
Using masking tape may seem like a detail but, as you now see, it is something that should never be overlooked when working on a kintsugi repair.
Step 2B - Filling the Deep Chips: Applying Too Much Kokuso at a Time

Kokuso is used to fill deep chips. However, kokuso is a very thick paste and, for it to harden properly, you should make sure to always apply a thin layer of kokuso at a time. Each layer should be 0.5 mm to 1 mm thick, not more. Moderation is key here.
If you apply a thicker layer of kokuso, or fail to wait for kokuso to harden properly before applying the next layer, kokuso will take a very long time to harden.
When we say ”a very long time,” we mean it. It will take weeks if not months.
So really make sure to apply only a very thin layer of kokuso paste at a time.
Step 4 - Application of Black Urushi : Poor Sanding Before Applying Black Urushi

↑ Waterproof Sandpaper, on duty!
After the Sabi-urushi hardens, you need to smoothen the surface with waterproof sandpaper. If the surface is not made smooth enough at this point, the surface will not be even no matter how much black urushi you apply afterwards.
The final look of your work depends on how much effort you put into sanding.
If the surface is not even smooth enough, your work will look wrinkly even after applying the gold. That is okay if that is what you are aiming for… but if you are aiming for a professional-looking result, you should make sure you smoothen the surface well with the waterproof sandpaper after applying the sabi-urushi
If the surface is not smooth even after sanding, you should reapply a layer sabi-urushi on top and sand it again. Repeat this process as many time as necessary until the surface of sabi-urushi is extra smooth.
If you notice that the surface is still too rough, it may be necessary to fill the holes with kokuso (Go back to Step 2B).
Step 4 - Application of Black Urushi: Applying Too Much Black Lacquer

↑ Apply black urushi – praying that it will not shrink
If there is one constant in Kintsugi, it is to use and apply everything in moderation.
If you apply too much urushi at a time, you run the risk of having black urushi shrink during the hardening process. When black urushi skrinks, wrinkles tend to appear.
You may be convinced that you only applied a small amount of black urushi, but urushi does not lie. If you notice wrinkles, you need to sand them with waterproof sandpaper until you do not see them anymore and then reapply black urushi, in a very thin layer.
Step 5 - Application of the Finishing Layer: Applying Too much Red Urushi Before Dusting the Gold Powder

(↑ The most impressive step of traditional kintsugi repair)
When it is finally time to move to the last step, the application of the finishing layer, most people are super excited. However, you still need to be careful with the last step. You have come so far, it would be a shame to make a mistake now, don't you think ?
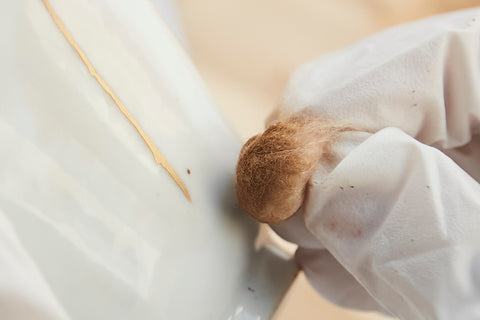
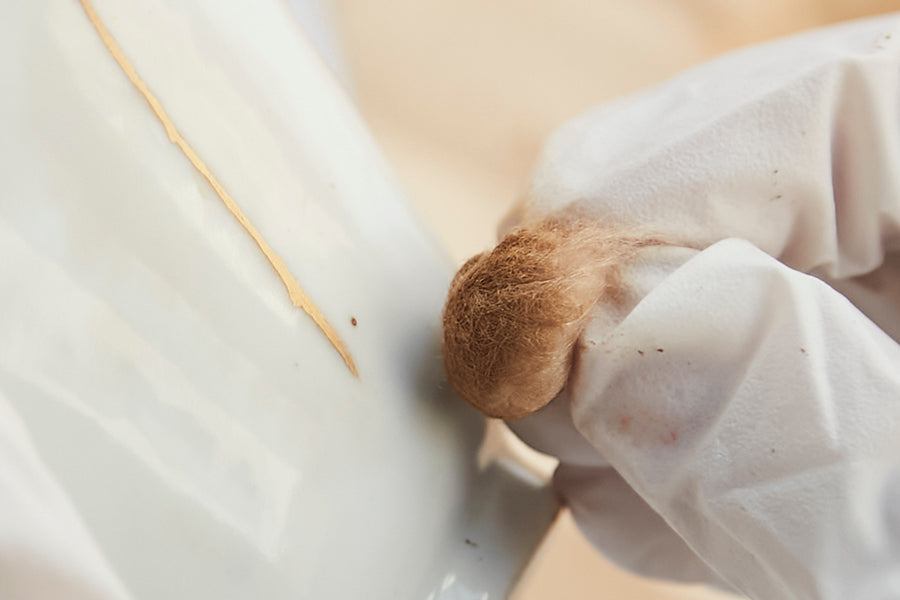
For the finishing layer, you first need to apply a thin layer of red urushi over the layer of black urushi. After waiting 15-30 minutes, you can start dusting gold powder over the layer of red urushi.
Have you already guessed what is the big mistake to avoid here ? Yes, that's right, it is once again all about moderation ! The mistake to avoid here is applying too much red urushi.
If the layer of red urushi is too thick, the gold powder will get absorbed by the red urushi and it will become invisible. If you do this mistake, you run the risk of using much larger quantities of gold than needed. Given the price of gold, which keeps increasing more and more, we do not recommend this way of proceeding. That being saif, should you ever happen to run out of gold powder, please note that gold powder refills are available on our online store.
If you notice that you have applied too much red urushi, you should remove the gold powder you have dusted already with the cotton ball and redo the step entirely.
It is worth noting that you do not necessarily have to use gold for the fnishing layer. You can also go for silver, or even finish with a simple red of black urushi layer.
In Conclusion

↑ Example of a successful repair.
Let's summarize what you should definitely AVOID when working on a kintsugi project:
Step 1: Preparation – Cleaning Poorly the Broken Pieces
Step 2A: Sticking the Broken Pieces together – Forgetting to Use Masking Tape
Step 2B: Filling the Deep Chips –Applying Too Much Kokuso at a Tim
Step 4: Application of Black Urushi – Poor Sanding Before Applying Black Urushi
Step 4: Application of Black Urushi – Applying Too Much Black Lacquer
Step 5: Application of the Finishing Layer – Applying Too much Red Urushi Before Dusting the Gold Powder
If you avoid these pitfalls, you should be fine and obtain a good result with your repair.
If you need more information, I have a 30-minute video in English on Youtube that explains the whole repair process with traditional kintsugi.
Learn Kintsugi in Our Kintsugi Studios in Tokyo!
Thanks to kintsugi kits such as the TSUGUKIT, it is nowadays completely possible to get started with kintsugi on your own, from the comfort of your home. However, some people may prefer to learn with a teacher. It is simply a question of personal preference and availability of kintsugi classes close to you. If you are in Tokyo and you wish to learn kintsugi in English with experienced kintsugi artists, you can sign up for lessons at one of our studios in Tokyo. Since Spring 2021, we also teach online lessons upon requests (send us an email with your time zone and availability before booking an e-ticket !).
Due to an increasing demand for kintsugi lessons, we opened a first kintsugi studio in February 2021. It is located in an artsy area of Tokyo right between the stations of Hiroo and Ebisu. Since then, in addition to kintsugi classes, we have started offering kintsugi repair services and even built a partnership with the MUJI Flagship Store in Shinjuku. We have also had the pleasure to be featured in various TV Shows in Japan and abroad
In May 2022, we opened a second studio in Asakusa, only a few minutes walk from Asakusa station.
We offer different types of kintsugi workshops. Everybody is welcome, regardless of their experience with kintsugi. Since urushi is not suitable for children, we have decided to start offering family-friendly kintsugi workshops where you can create kintsugi-like accessories with modern urushi.
If you wish to get a feel of the place and the workshops, feel free to swing by our studios ! Our studio in Ebisu is open everyday from 10:00 to 18:00 and our studio in Asakusa is open everyday except Monday, from 10:00 to 18:00. We will be more than happy to show you around our little studios and answer the questions you may have about kintsugi.
Access Information
You will find below the addresses and contact information for our studios:
Tokyo Kintsugi Workshop TSUGUTSUGU - Ebisu Studio
Zip code: 150-0013
Address: 1F akikito apt. 2-21-2 Ebisu, Shibuya-ku, Tokyo, Japan
Business Hours: 10:00-18:00 (Tue: 10:00-19:30) No scheduled holidays
Tokyo Kintsugi Workshop TSUGUTSUGU - Asakusa Studio
Zip code: 111-0034
Address: 1-1-2, Kaminarimon, Taito-ku, 111-0034 Tokyo 111-0034, 1st floor
Business Hours: 10:00-18:00 (Closed on Mondays)
Contact:
Asakusa - Tel: +81‐3-5246-3476 (Japanese only)
Email: info@kintsugi-girl.com (English & Japanese)
Access to our studio in Ebisu :
【Click Here for Google Map】


4 comments
Thank you for your comment!
It’s wonderful that you’re exploring different methods!
Officially, we recommend using wheat flour for making mugi-urushi (flour-based urushi paste), as the gluten provides stickiness that helps create a better texture. However, in practice, there are also kintsugi artisans who use rice flour instead of wheat, so it’s not that only wheat flour can be used.
That said, we’re not sure if you can use rice flour in the exact same quantity as wheat flour. You would likely need to adjust the ratio while checking the consistency and stickiness as you mix.
We have heard that some people with wheat allergies, like your mother, use rice flour as an alternative. However, since we don’t use rice flour in our own kintsugi work, we’re sorry that we can’t provide detailed guidance on its use.
We hope you continue to enjoy your kintsugi journey!
Isn’t sticky rice flour sometimes used? Rice does not have gluten.
My mom is deathly allergic to poison ivy so even the vapors of curing lacquer could be a problem.
I have had great initial success with using Titebond III glue in place of lacquer. Many of the same techniques can be used.
My first piece which was only glue up with titebond III survived a hot water test. I am now progressing through testing it with Sabi and bengara urushi techniques.
Titebond III is waterproof, food safe, and non toxic.
The final gold application step is the trickiest as titebond can dry quickly. But it’s not a full cure until several hours have passed. You can dampen the glue then apply the powder. Once fully cured after two days it does not come off.
Thank you for your comment! I apologize for the late reply.
Regarding the replacement for flour, I believe it would be difficult to substitute with anything that does not contain gluten.
The following article might be helpful for you.
https://kintsugi-kit.com/blogs/tsugu-tsugu-columns/faq-about-kintsugi-step-2-mugi-urushi
I hope you continue to enjoy Kintsugi!
Thank you for this clarifying article! It is very helpful for us at-home learners.
As a gluten-free person (Coeliac disease, which means any contamination with wheat can make me sick), I hesitate to use wheat cake flour for my kintsugi repair. Will the repair work if I substitute a gluten-free flour mix for the wheat flour?
Thank you!
- Misty